In this tutorial, we’re going to be looking at the ways we can improve the photorealistic appearance of your 3D models in SOLIDWORKS Composer.
When you first import your model into SOLIDWORKS Composer the model will inherit some of its appearance properties from the SOLIDWORKS Model (e.g. colour).
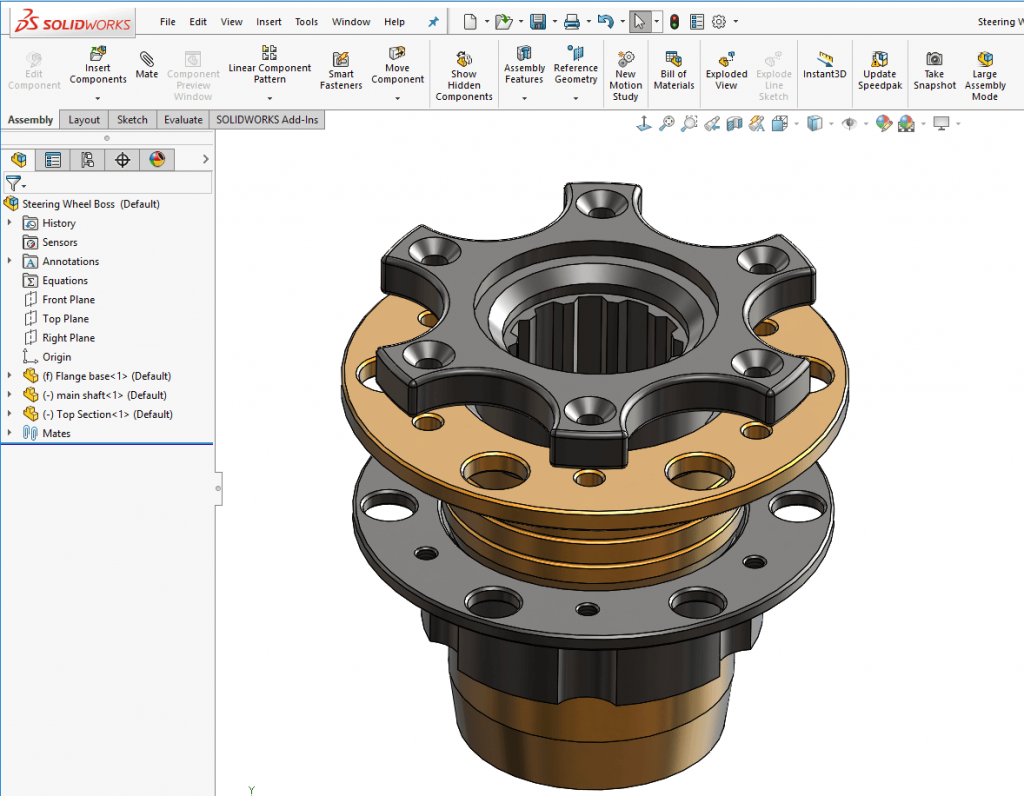
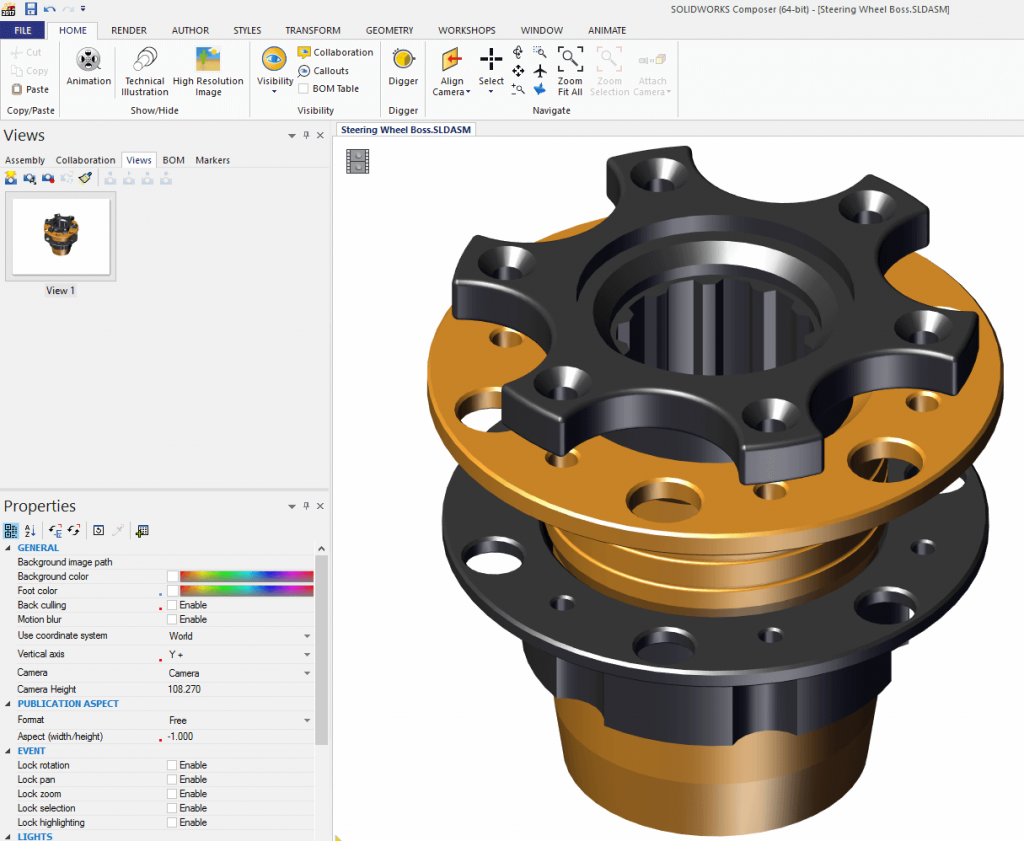
As you can see from the above images, the model looks pretty good in SOLIDWORKS 3D CAD & SOLIDWORKS Composer straight away, but there are various options to control how the model looks in Composer, so…
…where to start?
The first place to look at is the ‘RENDER’ tab on the ribbon toolbar. The first command on this menu is render ‘Mode’.
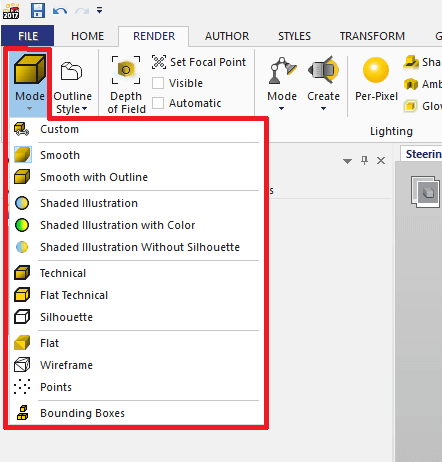
There several render modes to choose from, some of which you’ll find yourself using on a regular basis. The ones we find ourselves using regularly are:
- Smooth
- Smooth with Outline
- Flat Technical
- Silhouette
Now you know where to start, let’s take a look at what they all do.
Smooth
The model is shown in shaded mode without outlines. Highlights from the environment lighting can be seen on the model.
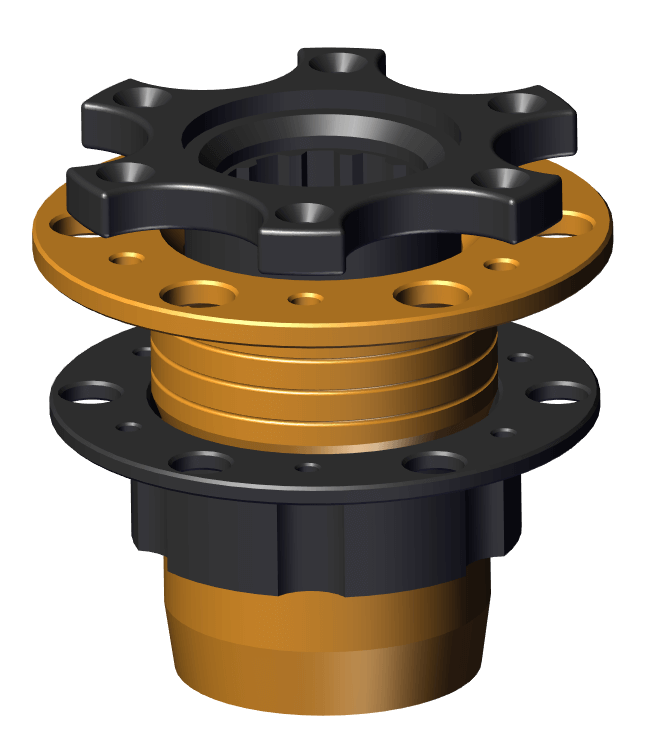
Smooth with Outline
The same as smooth, but silhouette of the model edges can be seen.
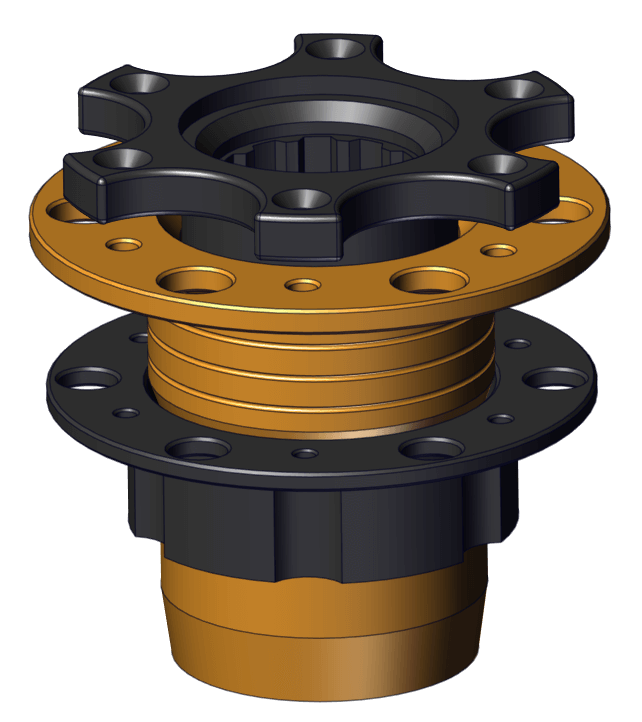
Flat Technical
The model is shown in a shaded mode with Silhouette edges visible. There are no highlights and the colour of the model is flat.
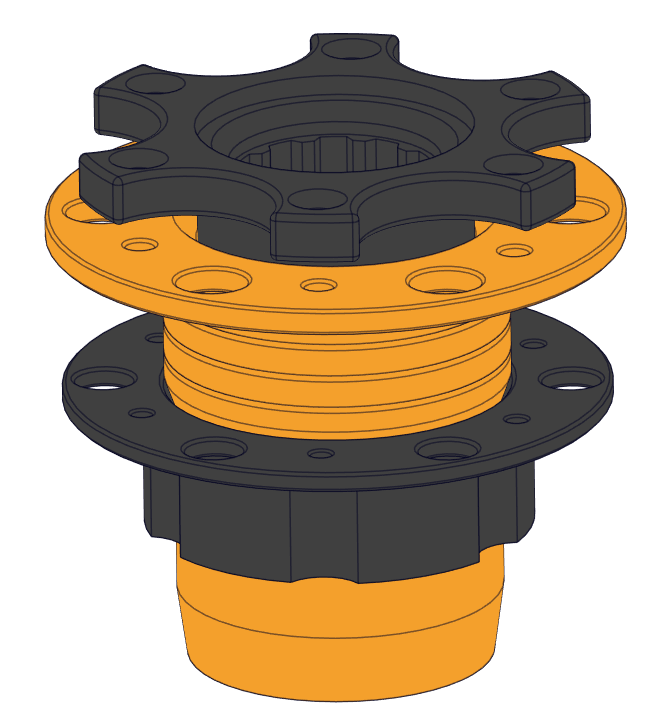
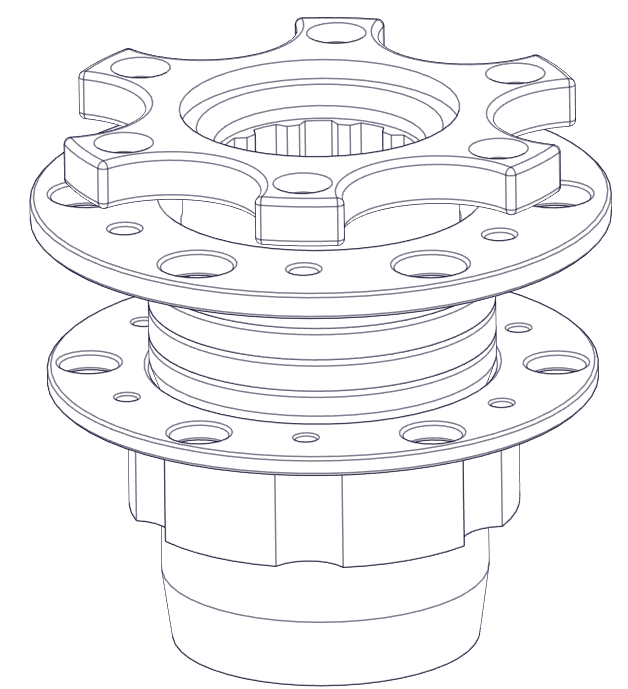
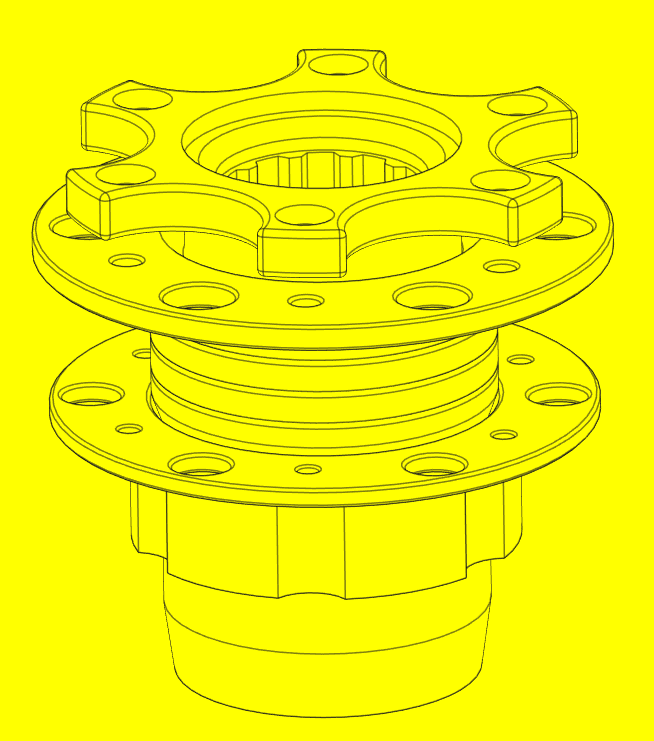
Silhouette
Just the silhouette edges of the model are shown. Therefore it is possible to see background colours through the model.
The render mode that you choose is determined by the end result you’re trying to achieve. If you’re going for photorealism, ‘Smooth’ would be the best choice. Whereas if you’re trying to achieve the typical images we see in instruction manuals perhaps ‘Flat Technical’ or ‘Silhouette’ mode would be best.
Achieving Photorealism
Although SOLIDWORKS Composer isn’t a photorealistic rendering tool (unlike SOLIDWORKS Visualize or Photoview 360), it’s possible to produce good quality, high resolution images. In terms of the quality, we’d position it somewhere between SOLIDWORKS Realview and Photoview 360. With that in mind, here’s how we go about achieving photorealism in Composer:
To begin, we’ll set the render mode to ‘Smooth’ which gives you this:
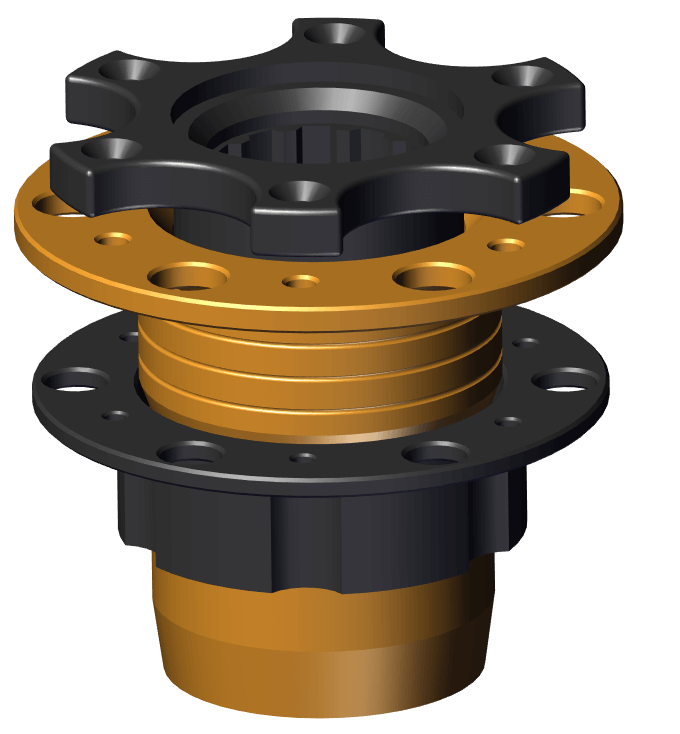
Next, we’ll select a lighting mode from the ‘RENDER’ tab.
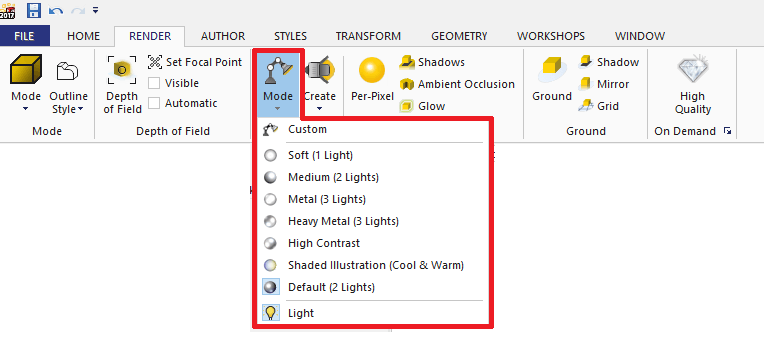
There are various preset lighting modes that you can select from, which will really affect the way the model looks. Check out the variation in the following examples:
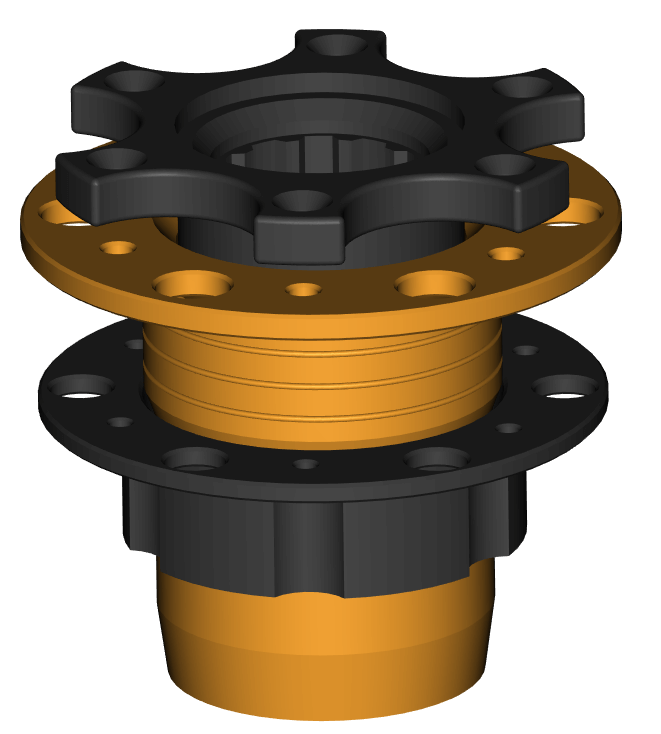
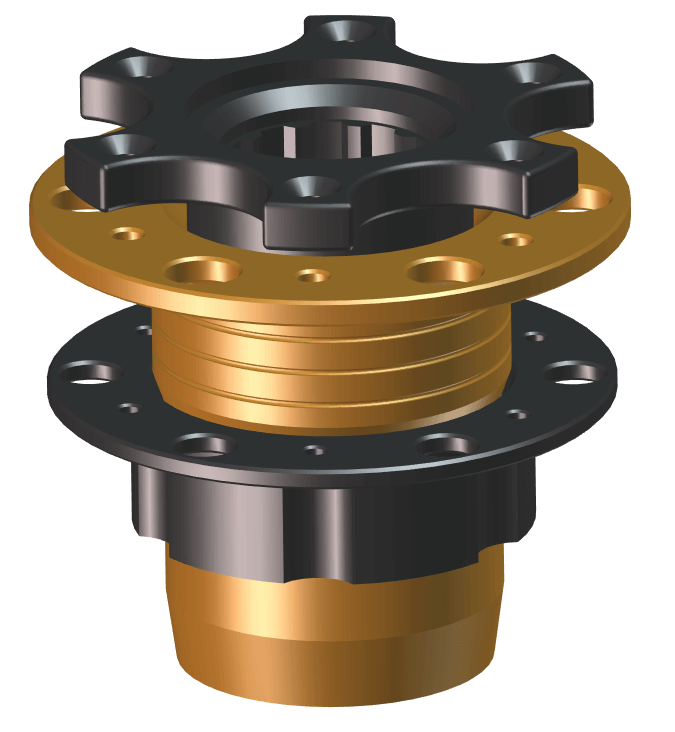
It’s also possible to create your own lighting – here you can can control various properties such as the colour and intensity.
Let’s take a look at ‘Shadows’ and ‘Ambient Occlusion’…

Shadows: Makes all geometry actors cast and receive shadows, making rendering for lighted scenes more realistic.
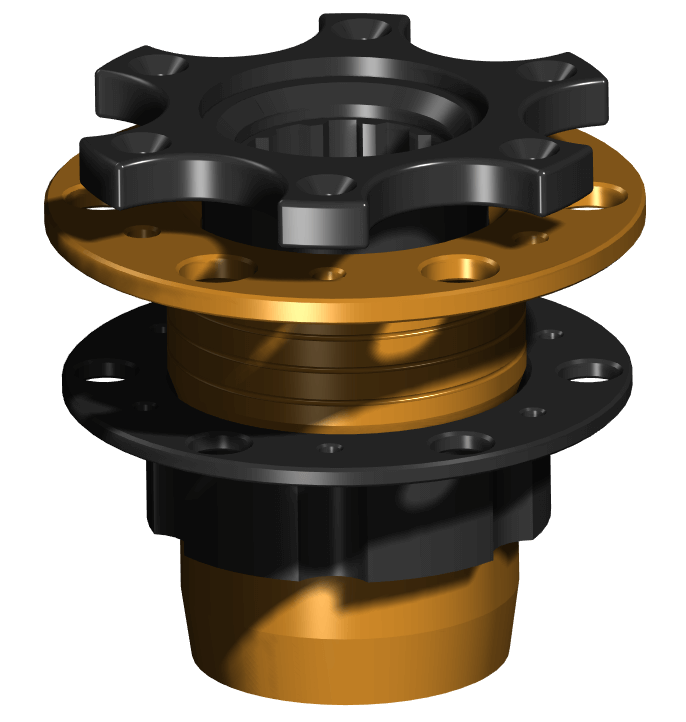
Ambient Occlusion: Displays shaded surfaces by considering light attenuation from nearby actors (dirties the edges, essentially).
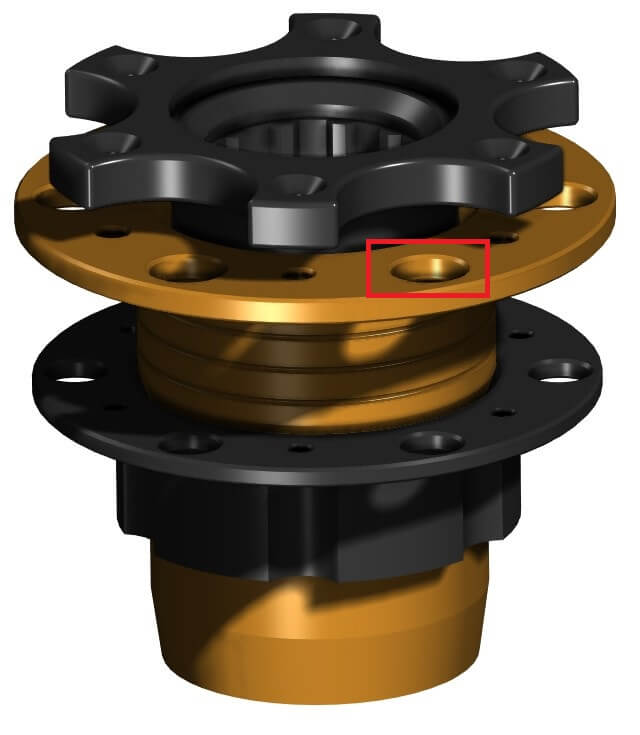
The difference in the above image is subtle, but we see slightly more definition on the hole faces (as highighted on the image) and the cylindrical grooves in the main body.
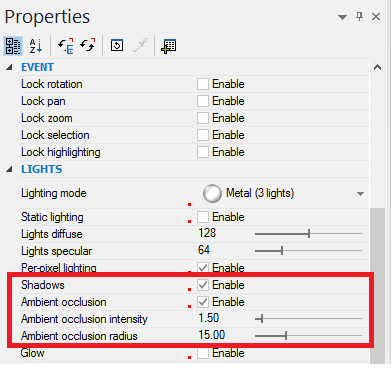
It’s possible to control the radius and intensity of the Ambient Occlusion from the environment properties as shown below:
Another way to achieve photorealism in your images is definition of environment effects for your geometry actors (part models). This can be controlled from actor properties and there are various modes that you can select (see below image).
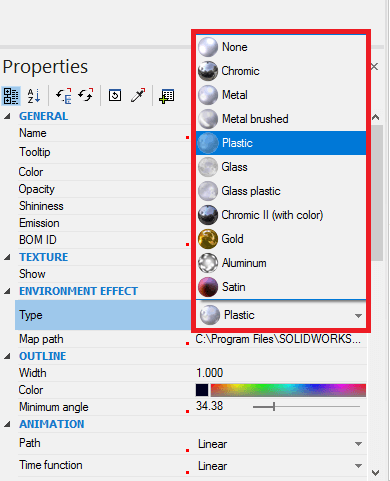
Here we’ve set the environment effect to ‘Plastic’ for the main body and ‘Metal’ for the black components:
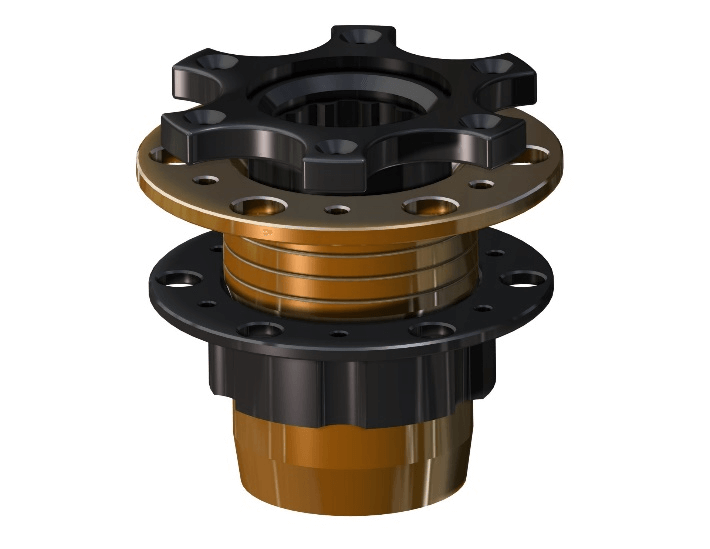
It’s very important to add perspective when trying to create an image that has a decent level of photorealism. Perspective can be toggled on/off on the status bar here:
![]()
We also like to add a touch of ‘Glow’ (which can be found on the render toolbar) for some additional ‘sparkle’:

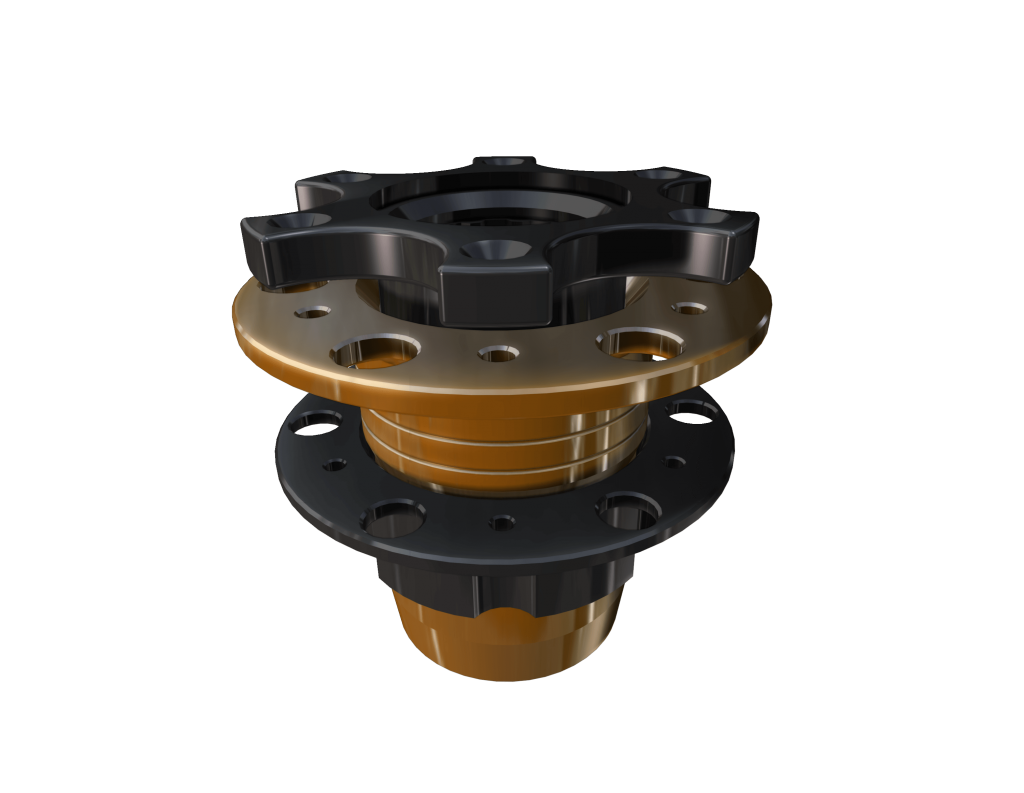
And of course, depth of field adds even more photorealism to your image by allowing you to have an area of your view in sharp focus.
Depth of field is toggled on from the ‘RENDER’ toolbar and the area of focus is set by using the set focal point tool and clicking on the model:

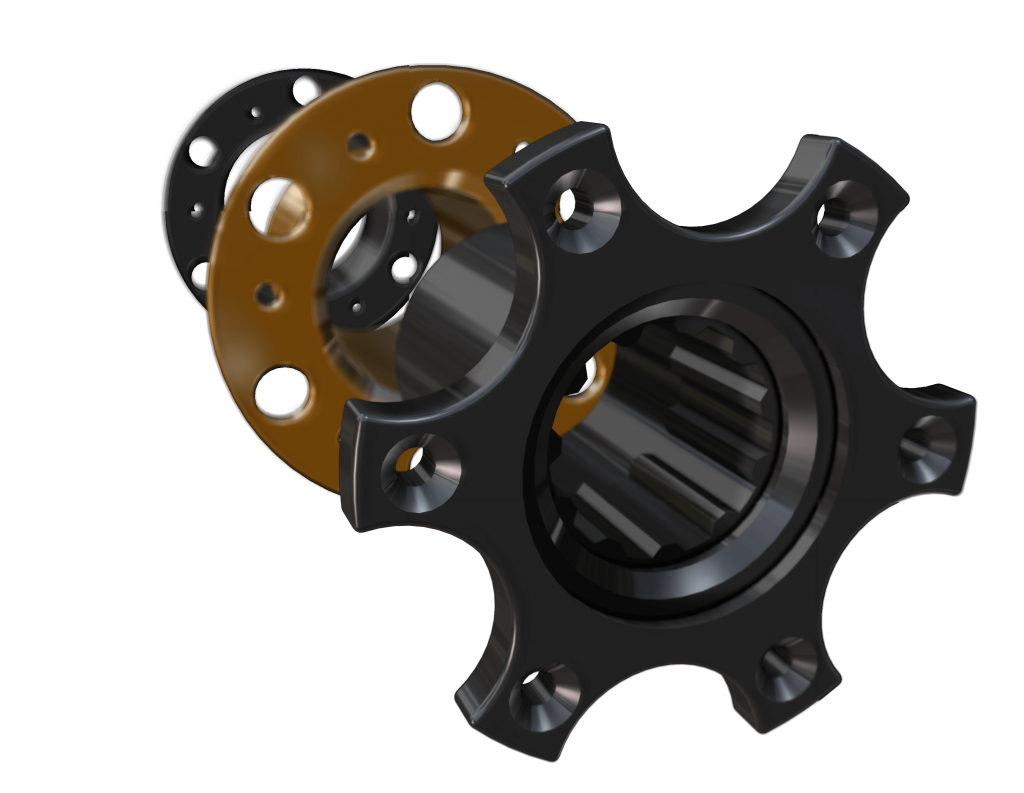
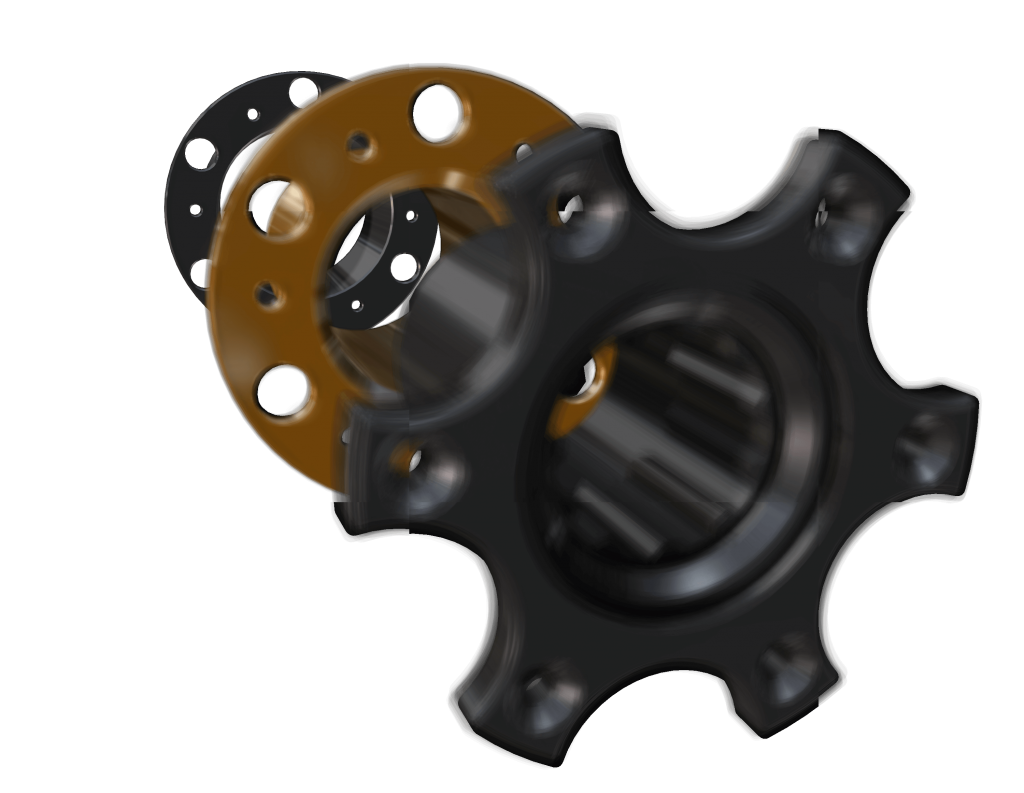
Hopefully you’ll agree that although these images are not up to the level of SOLIDWORKS Visualize or Photoview 360 in terms of photorealism, they’re really good and the fact that they render instantaneously is an added bonus!
We hope you find these tips useful for creating photorealistic images in SOLIDWORKS Composer.
Have you seen our blog archive where we have posted plenty of helpful articles? We also have a fantastic video library filled with easy-to-follow videos on a number of topics inspired by other SOLIDWORKS users – take a look. Also, don’t forget to follow Innova Systems on twitter for daily bite size SOLIDWORKS tips, tricks and videos.


